User guide
muSync works as a wizard in different pages were you are filling the data in every page before being able to progress to the next page until you reach the end of the process and the selected playlist are synced.
Below we will walk through a typical use case reviewing each of the steps required.
1. Select sources
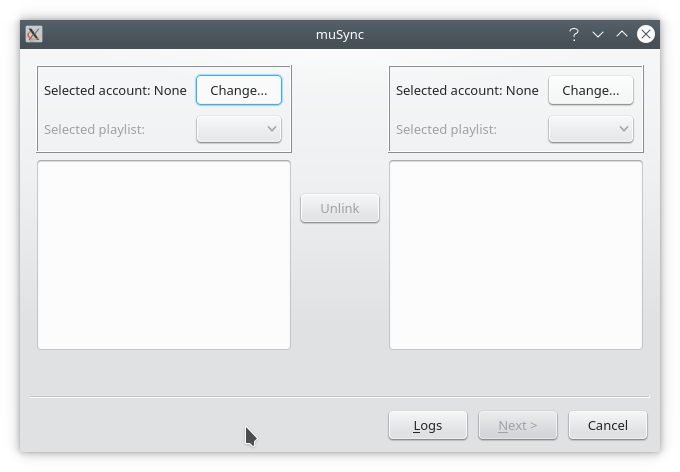
As soon as we start the application, we are presented with the initial screen where we can configure our accounts in different music services and where we will have to configure the accounts and playlists we want to sync.
This screen has two vertical panes where the songs for each music service will be listed so we can compare them.
1.1 Selecting accounts
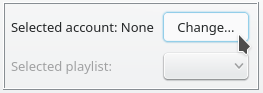
We can see both vertical panes are identically blank because the selected sources are currently None, so we will have to click on Change… to select the source we want to use:
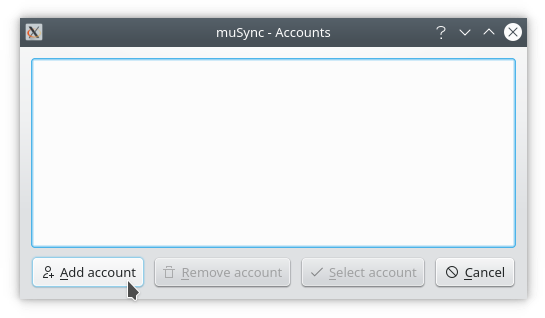
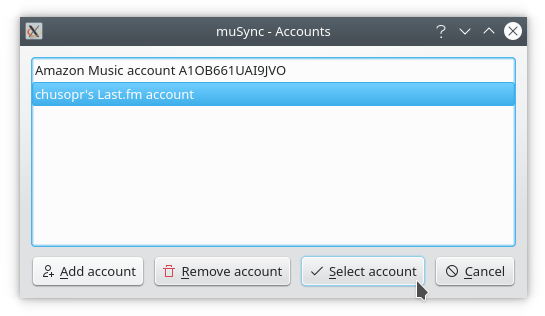
This will show the screen to select your account from the ones available. If you haven’t configured any yet, the list will be blank and you will be given the choice to add a new account using the Add account button:
-
If we choose to add a new account, we will be presented with a new dialog box to select one of the supported music services to configure an account for:
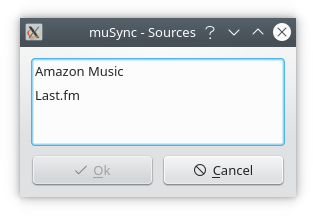
For details about how to add new accounts, please check the specific module instructions.
-
If we already have some account configured that we want to use, we can just select it and choose Select source:
-
From this screen we can also remove any configured account we don’t want to use anymore by selecting it and clicking on Remove account.
Once we have chosen an account for one of the panes, we do the same for the other one.
We would usually use a different account for the second pane, but it’s also possible to choose the same one again in case we want to copy songs between two playlists in the same account.
1.2 Selecting playlists
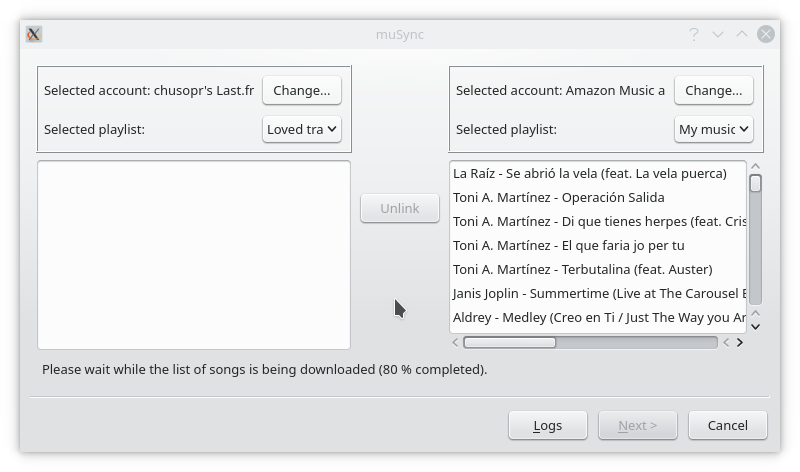
Now the first page will show the accounts we have selected to sync:

Of course we can click on Change… again if we want to change the accounts we have just selected, but the next step will be usually selecting the playlists.
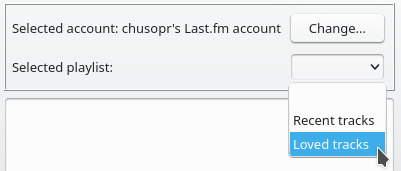
Every time we choose an account to sync, the playlist dropdown below it will be populated with the list of playlists available under that account so we can choose the playlist we want to sync:
Once we have chosen a playlist on both panes, muSync will start downloading the list of songs in each playlist and comparing the results to find which songs are in both services and which ones are only in one.
The progress is shown in the status bar at the bottom:
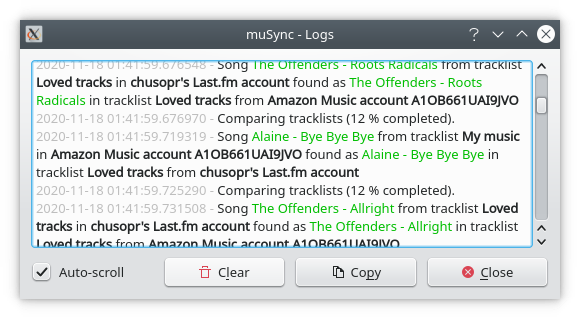
At any point during the wizard we can click on the Logs button at the botton which will open a new window with the details of any past or present operation:
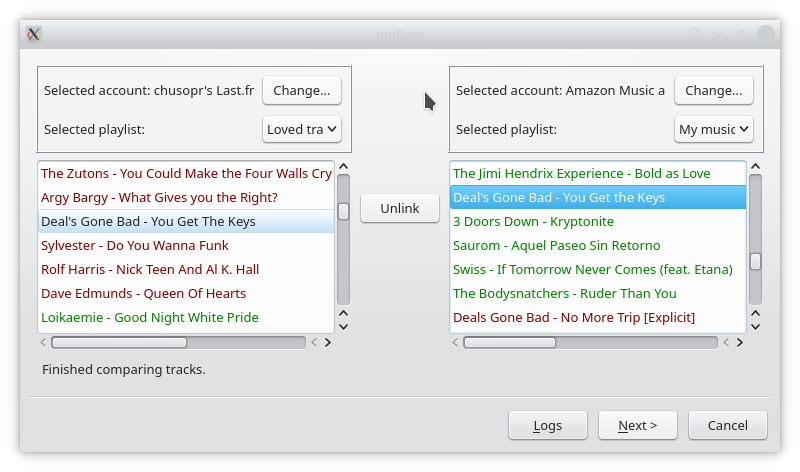
After the downloading and comparing of playlists is finished, the status bar will show “Finished comparing tracks”, we will be presented with the color-coded results and the Next button will be enabled to advance to the next step, but before we do so, we can review the results of comparing both playlists:
- Songs in red were found only in one playlist and will be searched to be synced to the other playlist in the next step.
- Songs in green were found in both playlists. You can click on one of them to be taken to the same song in the other playlist.
- If you click on one green song and the song you are taken to on the other side is wrong, you can click the Unlink button and muSync will stop considering the same song and will be considered for searching it in the next step.
2. Searching songs to sync
Once we advance to the second step, we will be shown the list of songs that are present in only one playlist and the similar songs that were found available to be added to the playlist where this song is missing.
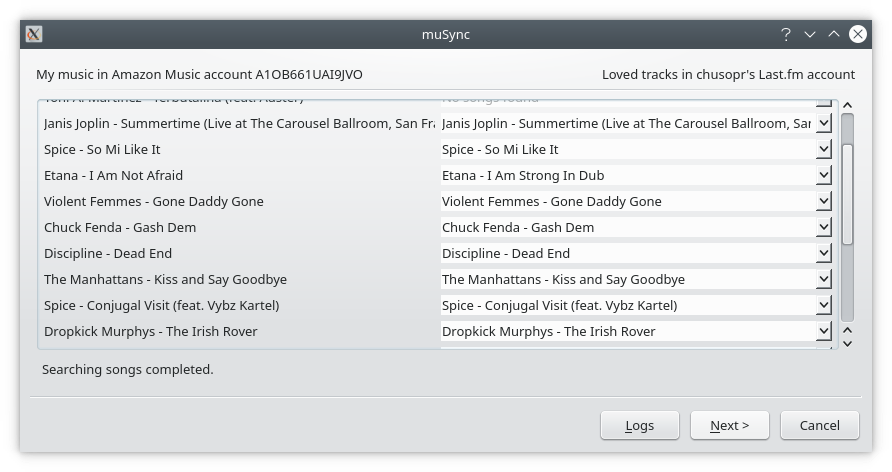
By default, the first search result for each song is selected, but we can expand the dropdown list to choose any other alternative.
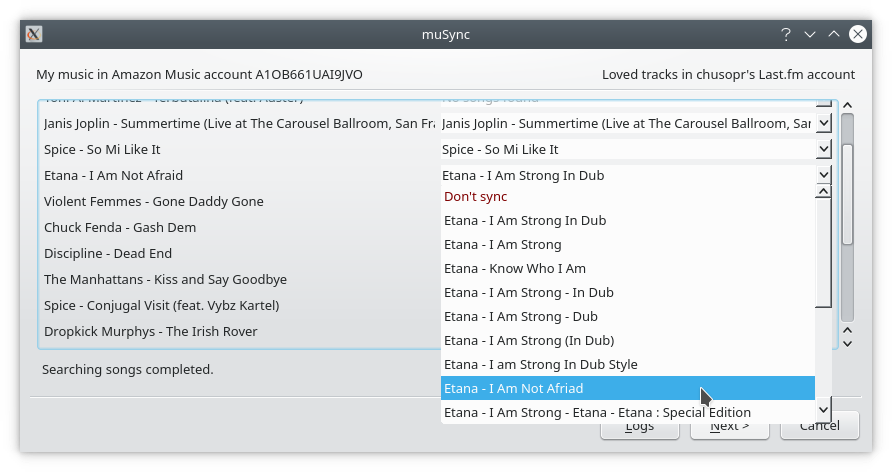
For example, in the screenshot above we can see Etana - I Am Not Afraid on the left will be synced on the right as Etana - I Am Strong In Dub, which is a different song, so we probably want to use the dropdown list to select the correct alternative:
If for some reason there is some song we don’t want to sync, we can select the option that says Don’t sync:
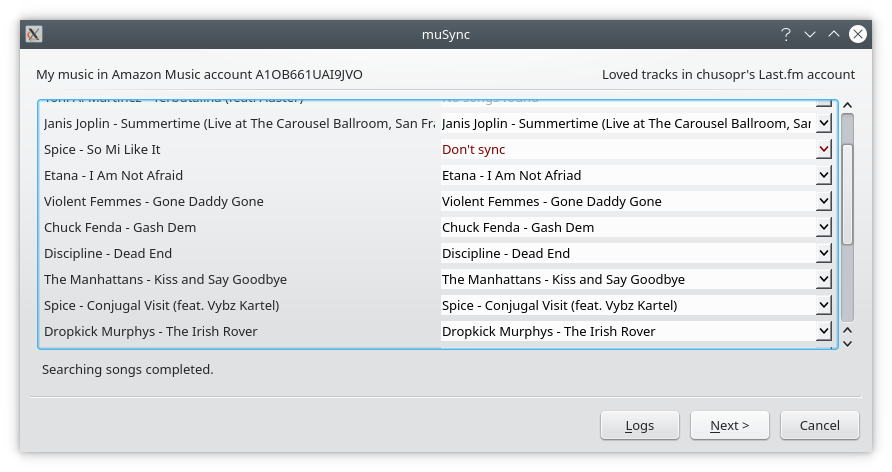
When we are happy with what will be synced, we can advance to the next step where the sync will be carried out.
3. Sync songs
In this step, muSync will just perform the actual sync as we configured it and will show the results:
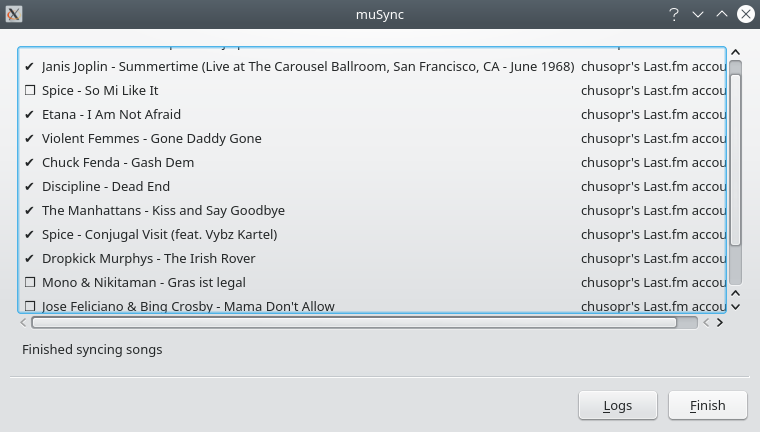
Each entry is prefixed it an icon showing its result:
margin: 0; padding: 36px 0 36px 84px; list-style: none; background-image: url("../../images/checked_red.svg"); background-repeat: no-repeat; background-position: left center; background-size: 40px;
- A check mark means the song was successfully synced.
- An empty box mark means the song was not found for syncing or you choose to not sync it.
- A cross mark means the song failed to sync. You shouldn't see any of these. If you see one, please report it as a bug.
The exact look of each mark may differ depending on your Qt theme configuration.